How to add subtitles to video: a step-by-step guide
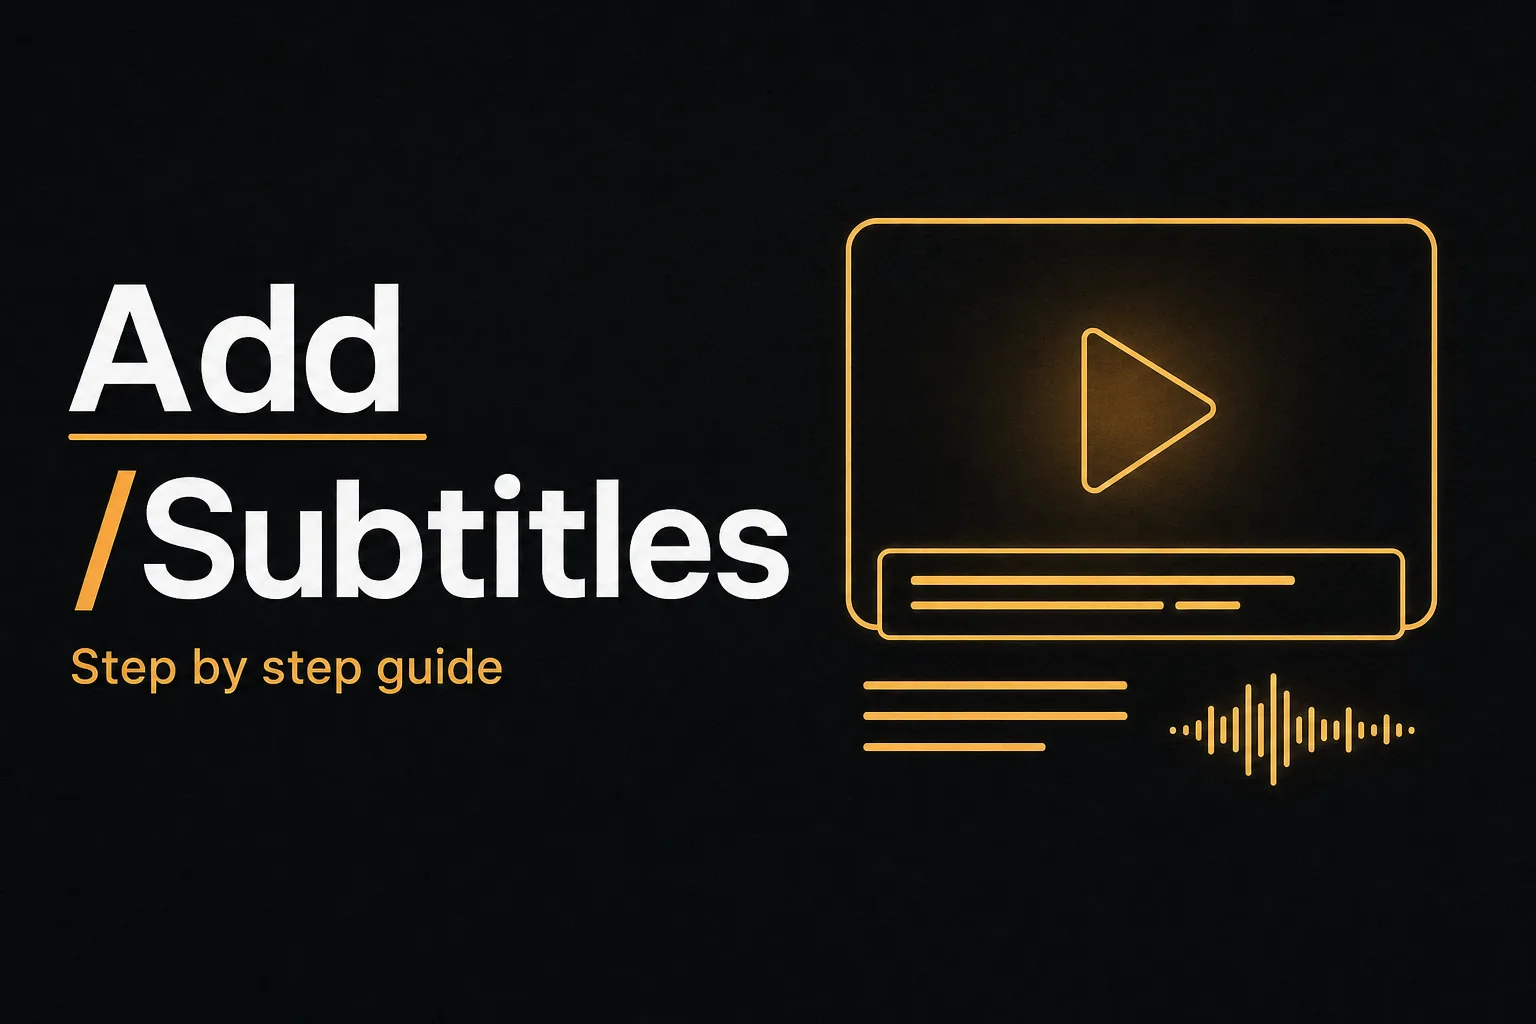
Most people watch video with the sound off. Captions keep them watching anyway. Adding subtitles also makes your content accessible, boosts watch time, and helps your video rank in search. The good news: you no longer need an editor or hours of manual timing. This guide shows you how to add subtitles to video step by step, using both automatic AI and manual methods, plus how to translate them, pick the right format, and burn them in.
Subtitles vs captions: a quick clarification
People use these words interchangeably, but there is a small difference.
- Subtitles assume the viewer can hear. They transcribe spoken dialogue, often translated into another language.
- Captions (or closed captions) are built for accessibility. They include speaker labels and sound cues like [music playing] or [door slams].
For most social and marketing video, the on-screen text you want is technically captions, but everyone calls them subtitles. Either way, the steps below work the same.
Two ways to add subtitles: burned-in vs separate file
Before you start, decide how the text should live in your video.
- Burned-in (hardcoded) subtitles are baked into the video pixels. They always show, on any player, and you can style them with fonts and colors. The trade-off: viewers cannot turn them off, and you cannot edit them after export. Best for TikTok, Reels, YouTube Shorts, and ads.
- Soft subtitles (SRT file) stay in a separate text file that plays alongside the video. Viewers can toggle them on or off and switch languages. YouTube, Vimeo, and most TV platforms support this. Best for long-form and accessibility compliance.
If you are unsure, burned-in is the safer choice for social clips and a separate SRT is better for platforms that let viewers control captions.
How to add subtitles to a video automatically with AI
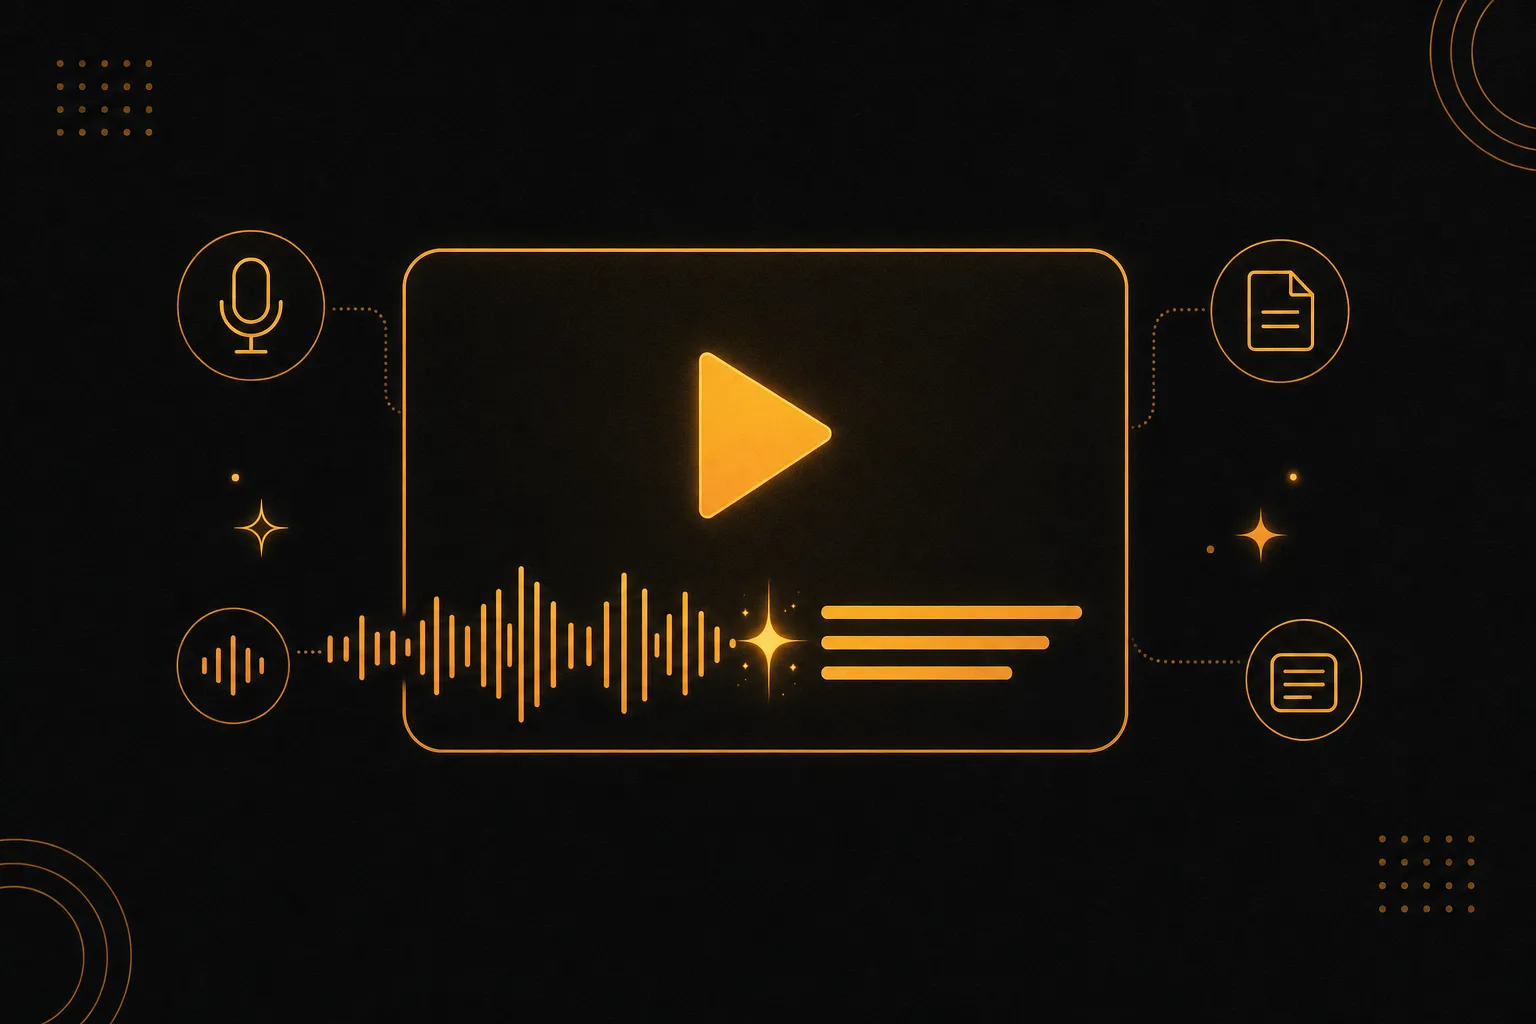
This is the fastest route. AI transcribes your audio, times each line, and lets you fix mistakes in minutes instead of hours. Here is the workflow that works in most tools, with Vuela as the all-in-one example because it also handles translation and dubbing in the same place.
- Upload your video. Open your subtitle tool and import the clip. A clear voice track with little background noise gives the most accurate result.
- Run automatic transcription. The AI listens to the audio and generates timed subtitles. Vuela transcribes the speech and produces a synced caption track you can edit. Accuracy is high for clean audio, but always plan to proofread.
- Review and edit the text. Scan for names, brand terms, numbers, and homophones. These are where AI slips most. Fix typos, split long lines, and adjust any timing that feels early or late.
- Style the subtitles. Pick a readable font, a size large enough for mobile, and a background or outline so text stays legible over busy footage. Keep one or two lines on screen at a time.
- Position them safely. On vertical video, keep captions clear of the bottom UI area where platform buttons and usernames sit. The lower-middle third usually works.
- Export your video. Choose burned-in captions for social platforms, or export an SRT file if the destination supports toggleable subtitles. Done.
Because Vuela also generates video, repurposes long videos into vertical shorts, and creates voiceovers, you can caption, trim, and publish a clip without bouncing between five apps. Vuela is a paid tool with flat-rate plans from $9 a month.
How to add subtitles manually
Manual subtitling gives you total control over wording and timing. It takes longer, but it is worth it for short clips where every word matters, or when AI struggles with heavy accents or technical jargon.
- Open your video in an editor. Most editors have a text or captions panel where you can add timed lines.
- Play and pause as you type. Listen to a phrase, pause, type exactly what was said, then set the start and end time for that line.
- Keep lines short. Aim for under about 40 characters per line and no more than two lines at once. Viewers should be able to read each caption comfortably before it disappears.
- Match timing to speech. A caption should appear as the words are spoken and leave when they end. Lines that linger or jump feel broken.
- Export or save as SRT. Burn the captions in, or download an SRT file you can reuse on other platforms.
How to add subtitles using an SRT file
An SRT (SubRip) file is a plain text file that lists each caption, its number, its start and end timecode, and the text. It looks like this:
- Line 1: a sequence number
- Line 2: the timecode, for example 00:00:01,000 followed by an arrow and 00:00:04,000
- Line 3: the caption text
- Then a blank line before the next caption
If you already have an SRT, here is how to attach it.
- Upload your video to your editor or platform.
- Find the upload subtitles option. Look for Subtitles, Captions, or CC, then choose Upload file.
- Select your SRT file and let the tool sync it to the timeline.
- Check the sync. Scrub through the video to confirm captions line up with the audio. Nudge the timing if needed.
- Save or export. Keep the SRT separate for toggleable captions, or burn it in for guaranteed display.
SRT files are the most portable subtitle format. You can edit one in any text editor and reuse it across YouTube, Vimeo, and most editors.
How to add subtitles on YouTube
YouTube has its own caption system, which is useful because viewers can toggle captions and YouTube can auto-translate them.
- Go to YouTube Studio and open the video, then click Subtitles.
- Pick the video language, then choose Add.
- Select Upload file to add an SRT, Auto-sync to paste a transcript that YouTube times for you, or Type manually to write captions line by line.
- Review YouTube's automatic captions if they exist, since they often need corrections.
- Click Publish. Viewers can now turn captions on with the CC button.
For Shorts and other social clips, burned-in captions usually perform better, because many viewers never tap the CC toggle.
How to translate your subtitles into another language
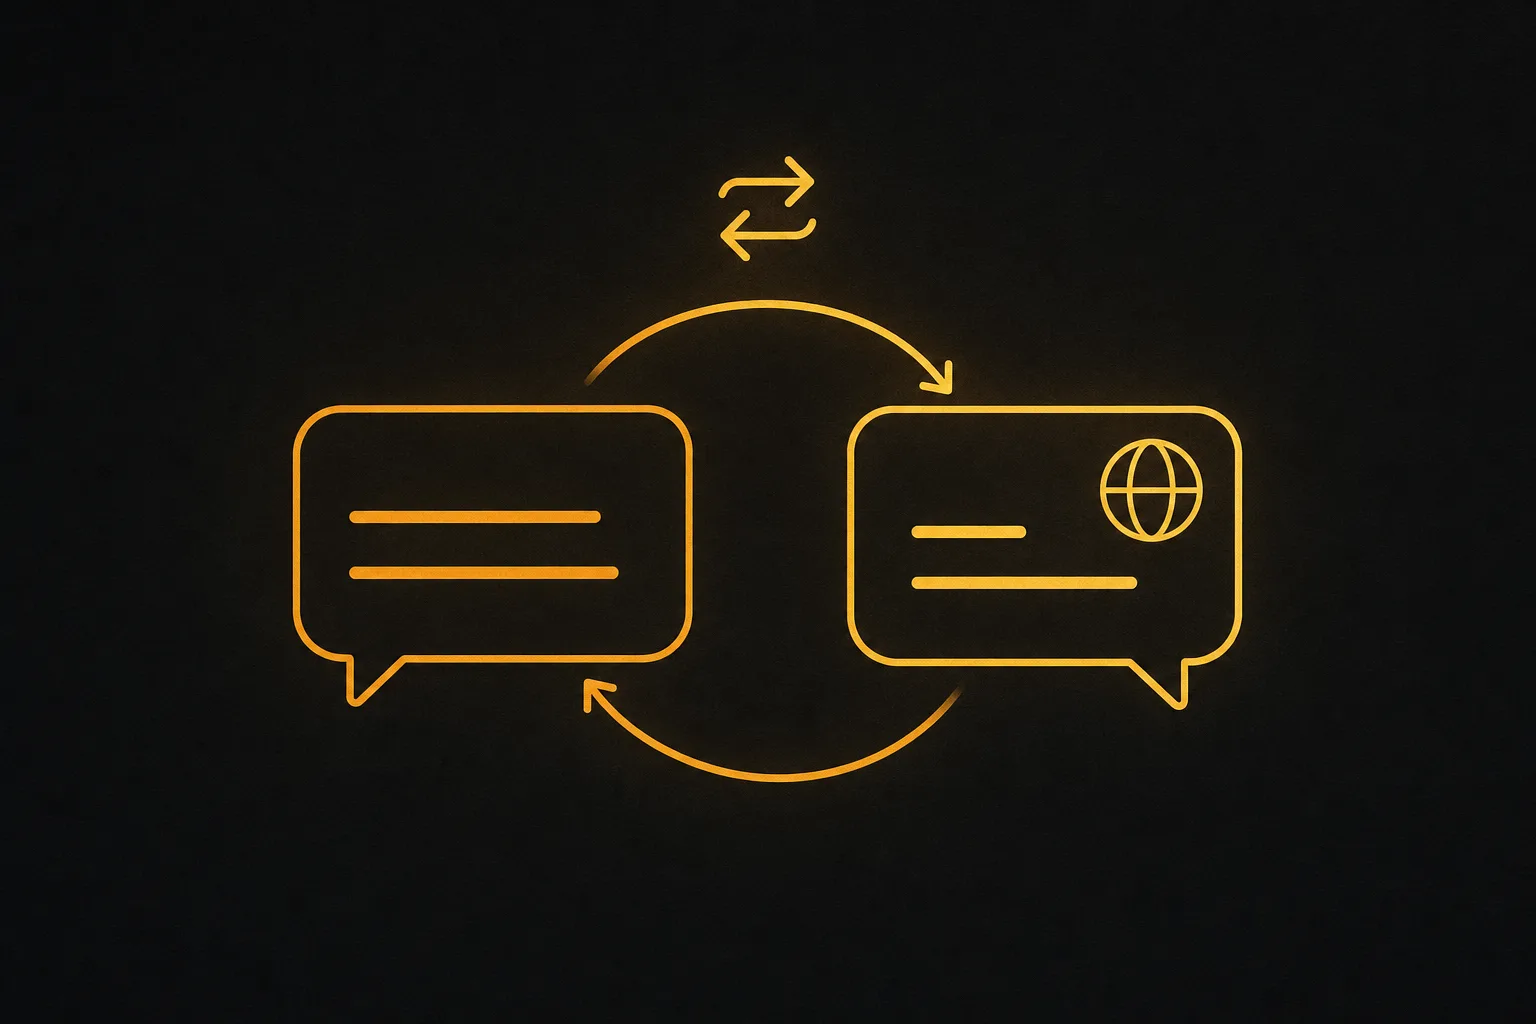
Translated subtitles open your video to a much larger audience. There are two levels.
- Translate the captions only. The original voice stays, and translated text appears on screen. Fast and cheap.
- Translate and dub. The audio itself is replaced with a voice speaking the new language, with captions to match. More immersive for international viewers.
Here is the workflow:
- Generate accurate captions first. A clean transcript in the original language produces a clean translation. Garbage in, garbage out.
- Run the translation. Vuela can translate and dub a video into many languages with a natural voice that matches the original speaker, and it produces translated subtitles in the process. That means one upload gives you the new audio and the new captions together.
- Proofread the translation. Idioms and slang rarely translate word for word. Focus on meaning, not literal phrasing, and check that lines still fit on screen.
- Re-time if needed. Translated text is often longer or shorter than the original, so adjust line breaks and timing for readability.
- Export per platform. Burn captions in for social, or keep separate SRT files per language for platforms that let viewers choose.
How to add subtitles on mobile vs desktop
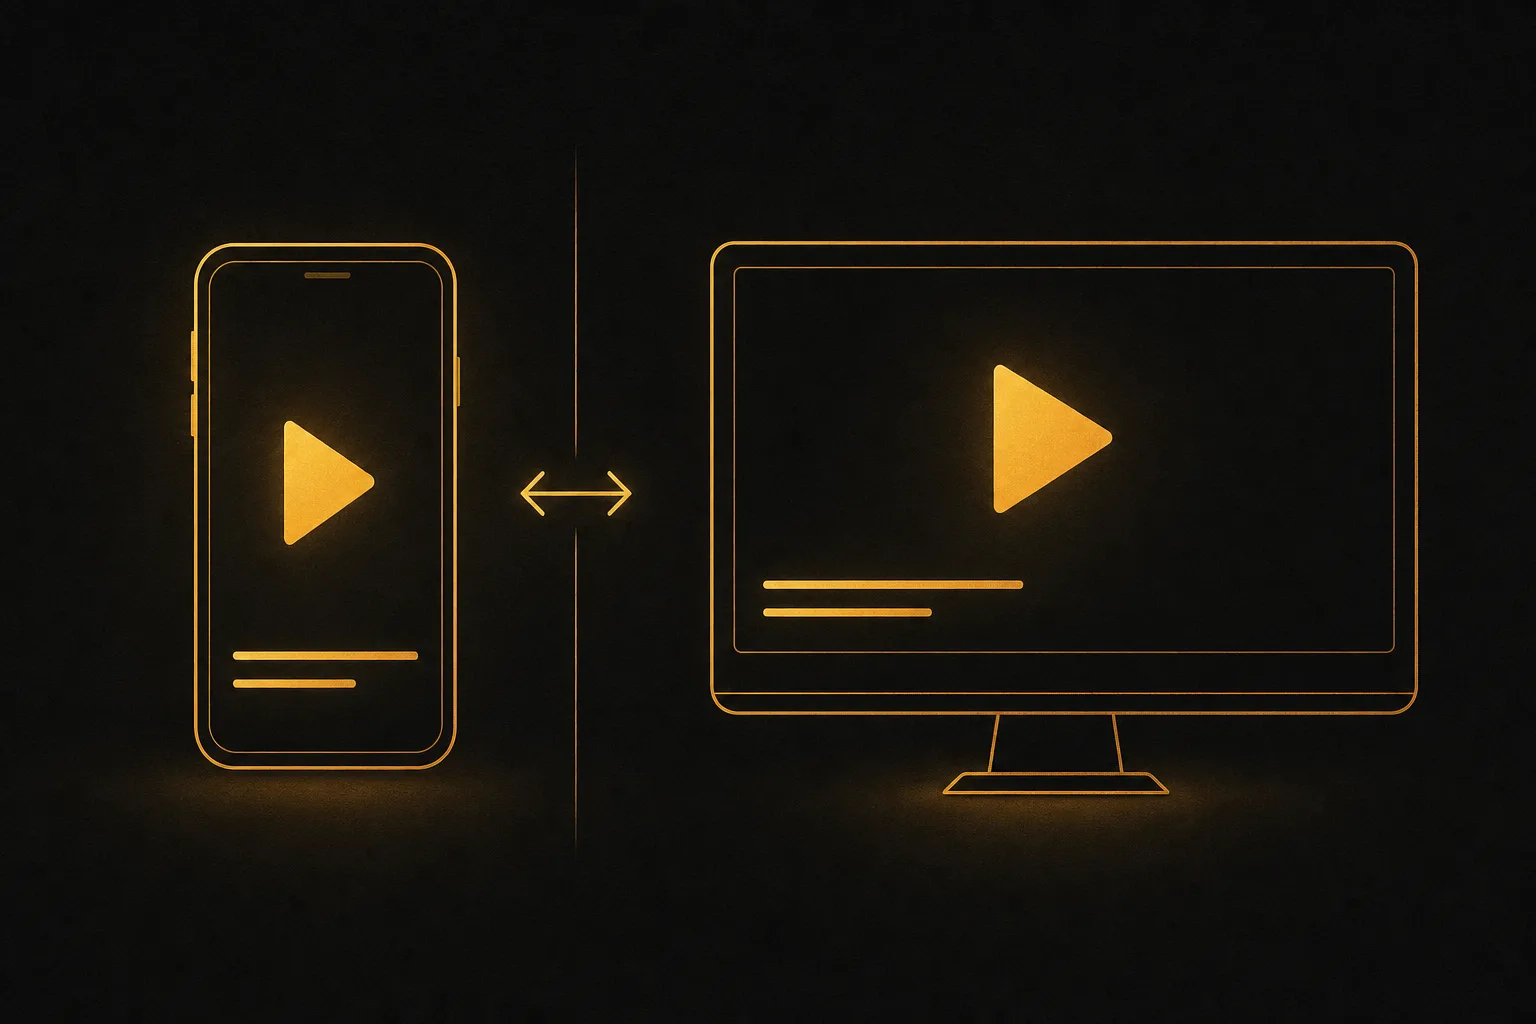
You can caption a video from your phone or your computer. The choice depends on your workflow.
- Mobile. Phone apps and web tools that work in a mobile browser are ideal for quick social clips. You record, auto-caption, style, and post without leaving your phone. Great for TikTok, Reels, and Shorts on the go.
- Desktop. A larger screen makes editing timing, fixing transcripts, and styling far easier. Choose desktop for long videos, multilingual projects, and anything that needs precise sync.
Browser-based tools like Vuela run on both, so you can start on desktop and finish on mobile, or the other way around.
Free options for adding subtitles
If budget is your main concern, several tools offer genuine free tiers. Limits were checked in 2026 and change often, so confirm current terms before you commit.
- YouTube Studio is free for auto-captions and SRT uploads on your own channel.
- Many online caption generators offer a free tier with a watermark or a limited number of free minutes per month.
- Some editors give daily free credits for auto-captioning short clips.
- Desktop tools like VLC can display an external SRT file for free, though they do not generate or burn captions.
Free tools are great for one-off clips. If you caption regularly, translate often, or need watermark-free exports, a flat-rate paid tool like Vuela usually costs less than stitching free plans together.
Tips for subtitles that actually work
- Proofread every word. Auto-captions are fast but never perfect. One garbled brand name undoes the polish.
- Keep text big and high-contrast. Add an outline or background so captions stay readable over any footage.
- Limit to two lines. Walls of text get skipped. Short lines get read.
- Mind the safe zone. On vertical video, keep captions away from platform buttons and the very bottom edge.
- Match brand style. Consistent font and color make your clips instantly recognizable.
Frequently asked questions
How do I add subtitles to a video automatically?
Upload your video to an AI caption tool, run automatic transcription, then review the generated text for errors. The AI listens to the audio, writes out the speech, and times each line for you. Tools like Vuela handle the transcription and let you fix wording, style the captions, and export in minutes. Always proofread, since AI can misread names and technical terms.
How can I add subtitles to a video for free?
YouTube Studio lets you auto-caption and upload SRT files on your own videos at no cost. Many online generators also offer a free tier, usually with a watermark or a monthly minute limit. VLC can display an external SRT file for free on desktop. For frequent captioning or watermark-free exports, a paid flat-rate tool is often cheaper overall.
What is an SRT file and how do I use it?
An SRT is a plain text file that holds your captions, each with a number, a start and end timecode, and the text. You upload it to a platform or editor, which syncs it to your video. Viewers can then toggle the captions on or off. SRT is the most portable subtitle format, so you can reuse one file across YouTube, Vimeo, and most editors.
How do I translate subtitles into another language?
Generate accurate captions in the original language first, then run them through a translation tool. Vuela can translate and dub a video into many languages and produce matching subtitles in the same step. Always proofread the result, because idioms rarely translate literally, and re-time any lines that became longer or shorter so they stay easy to read.
Should I burn subtitles in or keep them as a separate file?
Burn them in for social platforms like TikTok, Reels, and Shorts, where many viewers never tap the captions button and styling matters. Keep them as a separate SRT for YouTube, Vimeo, and accessibility cases where viewers should control captions or switch languages. When in doubt, burned-in is safest for short social clips.